Custom Golf Simulator Installation in Atlanta: What It Really Takes to Build the Room Right
A completed simulator is not a box of equipment. It is a room where construction, projection, impact protection, software, sound and calibration all have to work together.
The Difference Between Buying a Simulator and Building a Simulator Room
A home golf simulator can look simple when it is finished: a screen, a projector, a hitting area and a computer. The reality is that every one of those parts affects the others. Screen dimensions determine image size. Room depth affects the golfer, projector and launch-monitor layout. Protective surfaces must cover the places an imperfect shot can reach. The software, computer, display and audio system must behave like one finished product.
That is why a professional simulator installation begins with the room—not the shopping cart. Entertainment Technology approaches the project as a complete environment, coordinating the physical build, electronics, control, safety and final calibration around the homeowner’s space and goals.
Start With the Structure
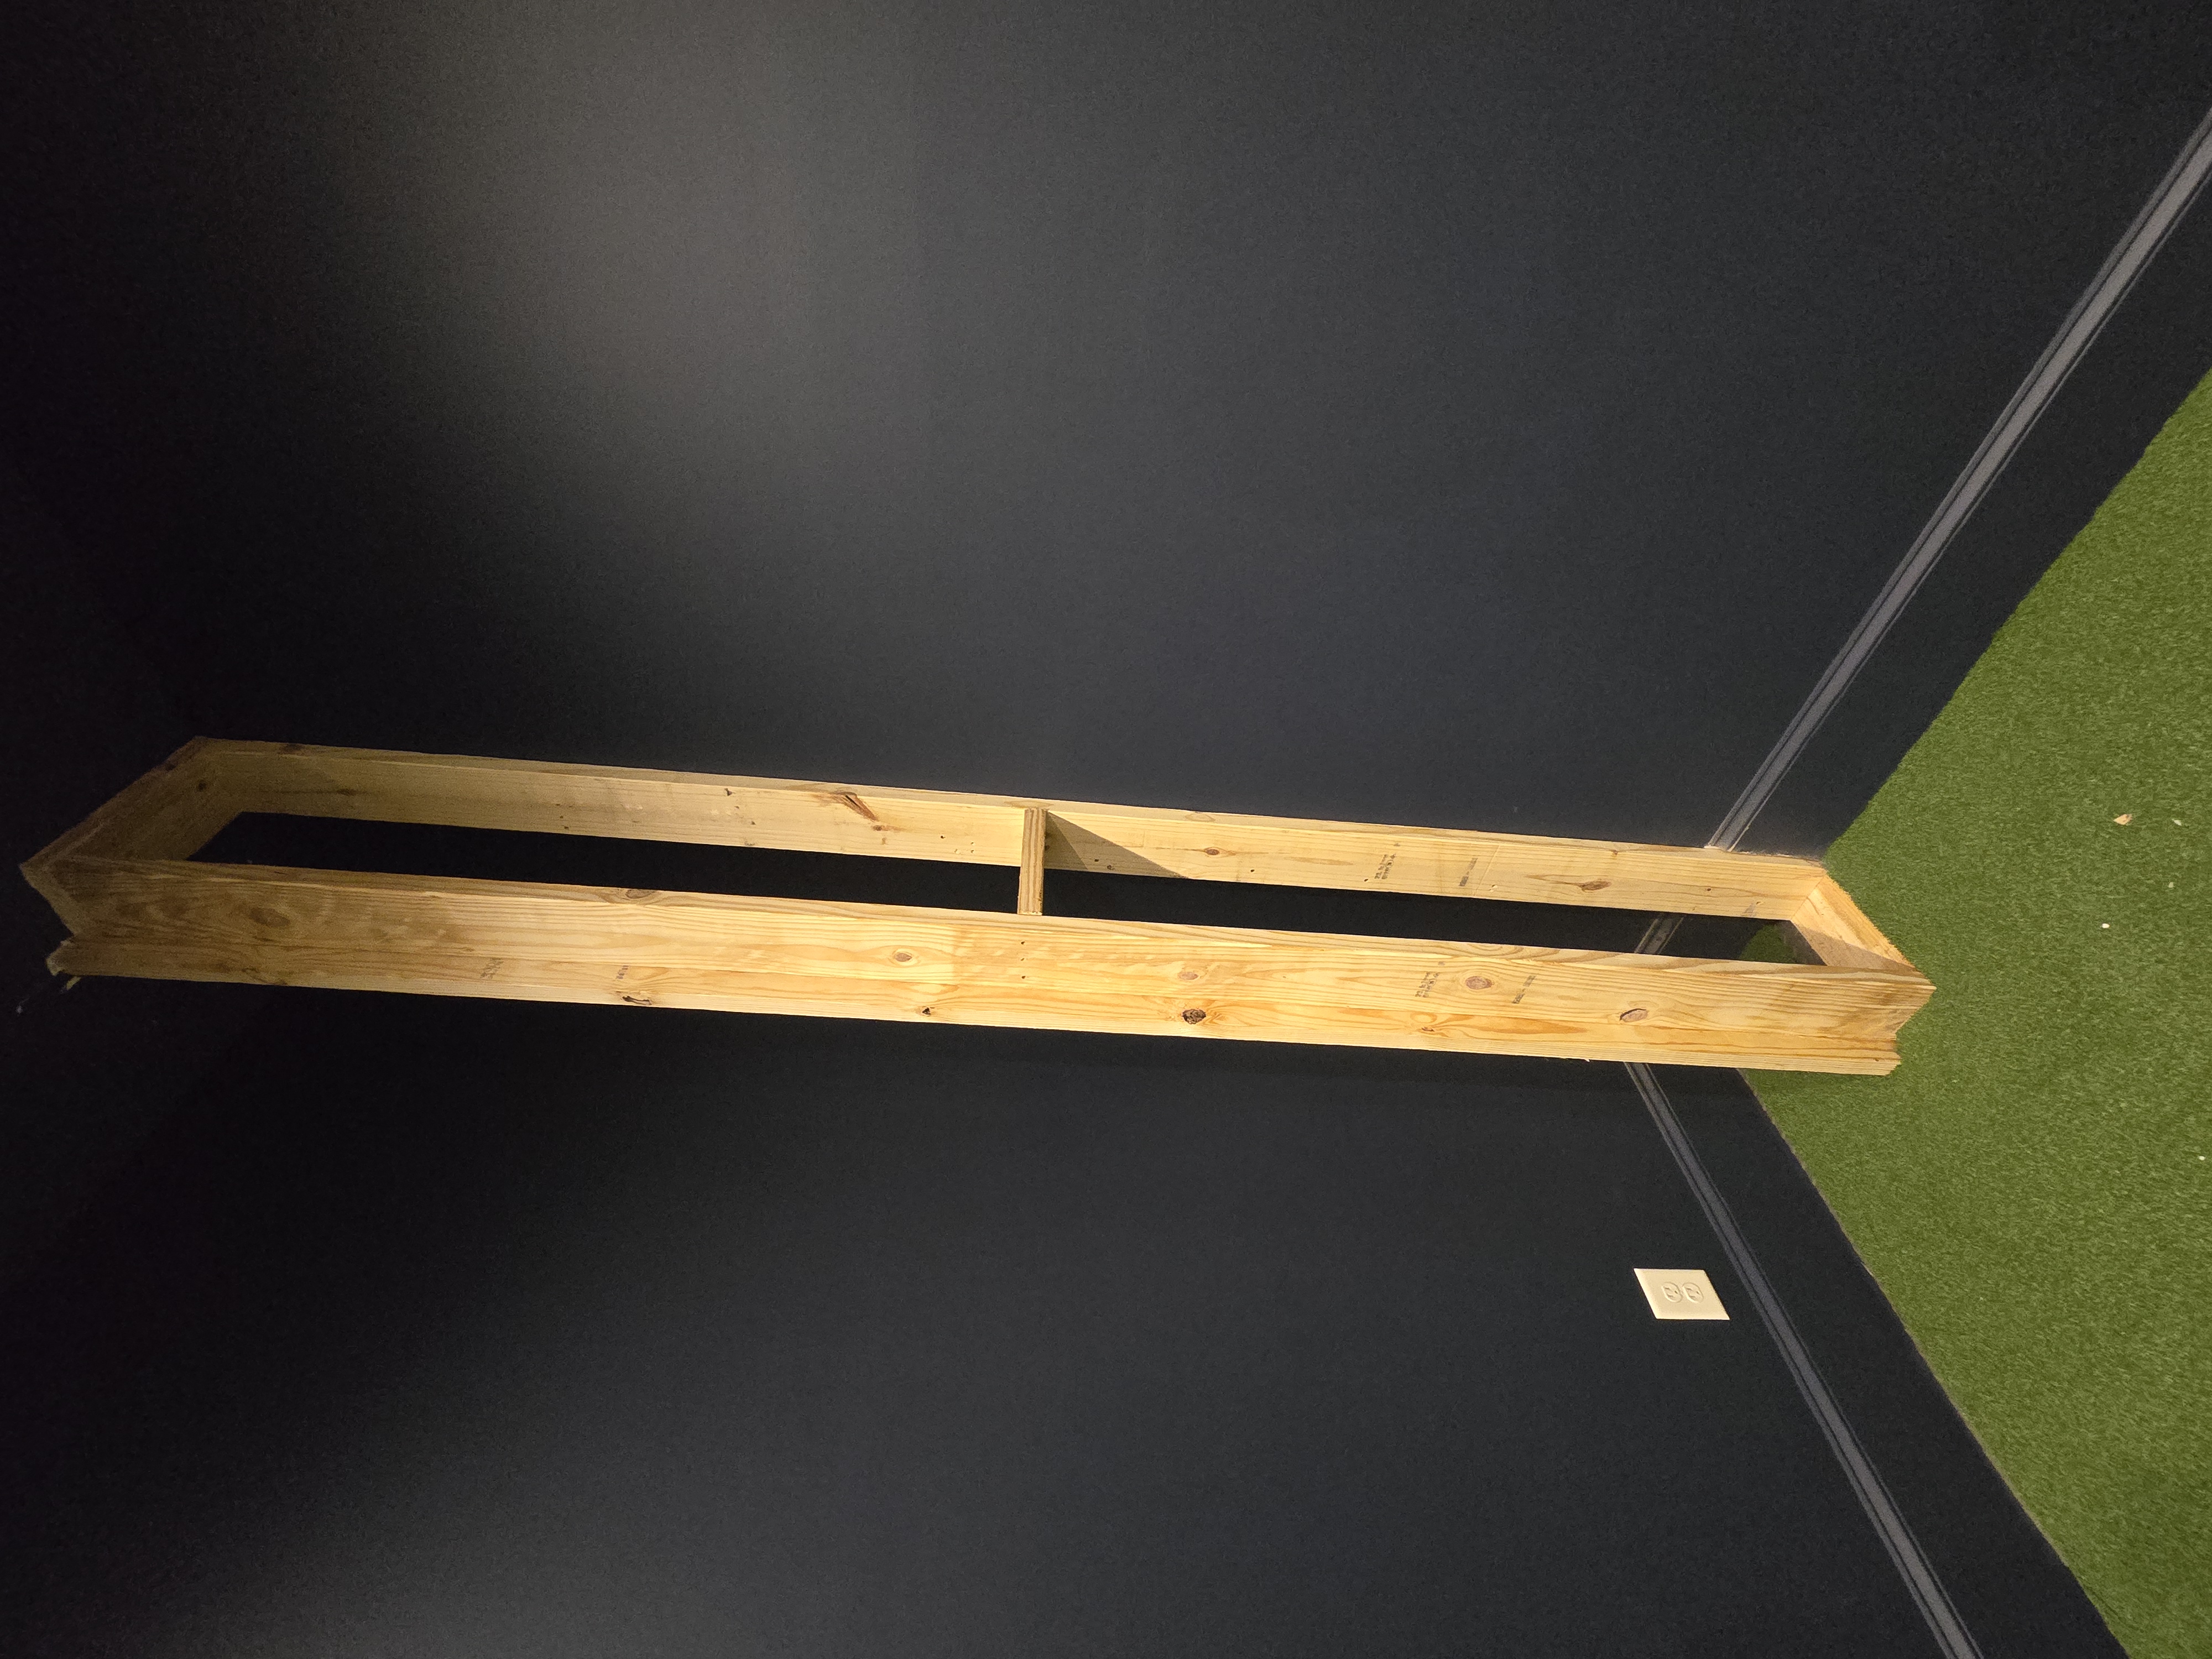
The screen wall is the foundation of the hitting bay. It has to support the impact screen and surrounding protection while maintaining the correct proportions for the projected image. Small errors in framing or placement can create exposed edges, uneven tension, unwanted shadows or a picture that never quite fills the screen correctly.
For this project, the Entertainment Technology team constructed the screen-side wall sections, installed the impact-screen assembly and fitted the surrounding protection to the room. The work required careful field measurement and adjustment so the finished bay looked intentional instead of like a collection of parts attached to a wall.
Protect the Room Without Making It Look Like a Padded Box
Protection is not an accessory in a golf simulator. It is part of the room design. A golf ball does not always travel directly into the center of the screen, especially when different players, children or guests use the system. Side walls, ceiling areas and hard transitions near the screen must be considered before the first full swing.
Prepackaged components do not always fit the real room exactly as expected. Mounting surfaces, attachment points and panel behavior may require additional onsite work. On this installation, ETI added mounting solutions and adjusted the protective panels so they would remain securely positioned and create a cleaner finished appearance.
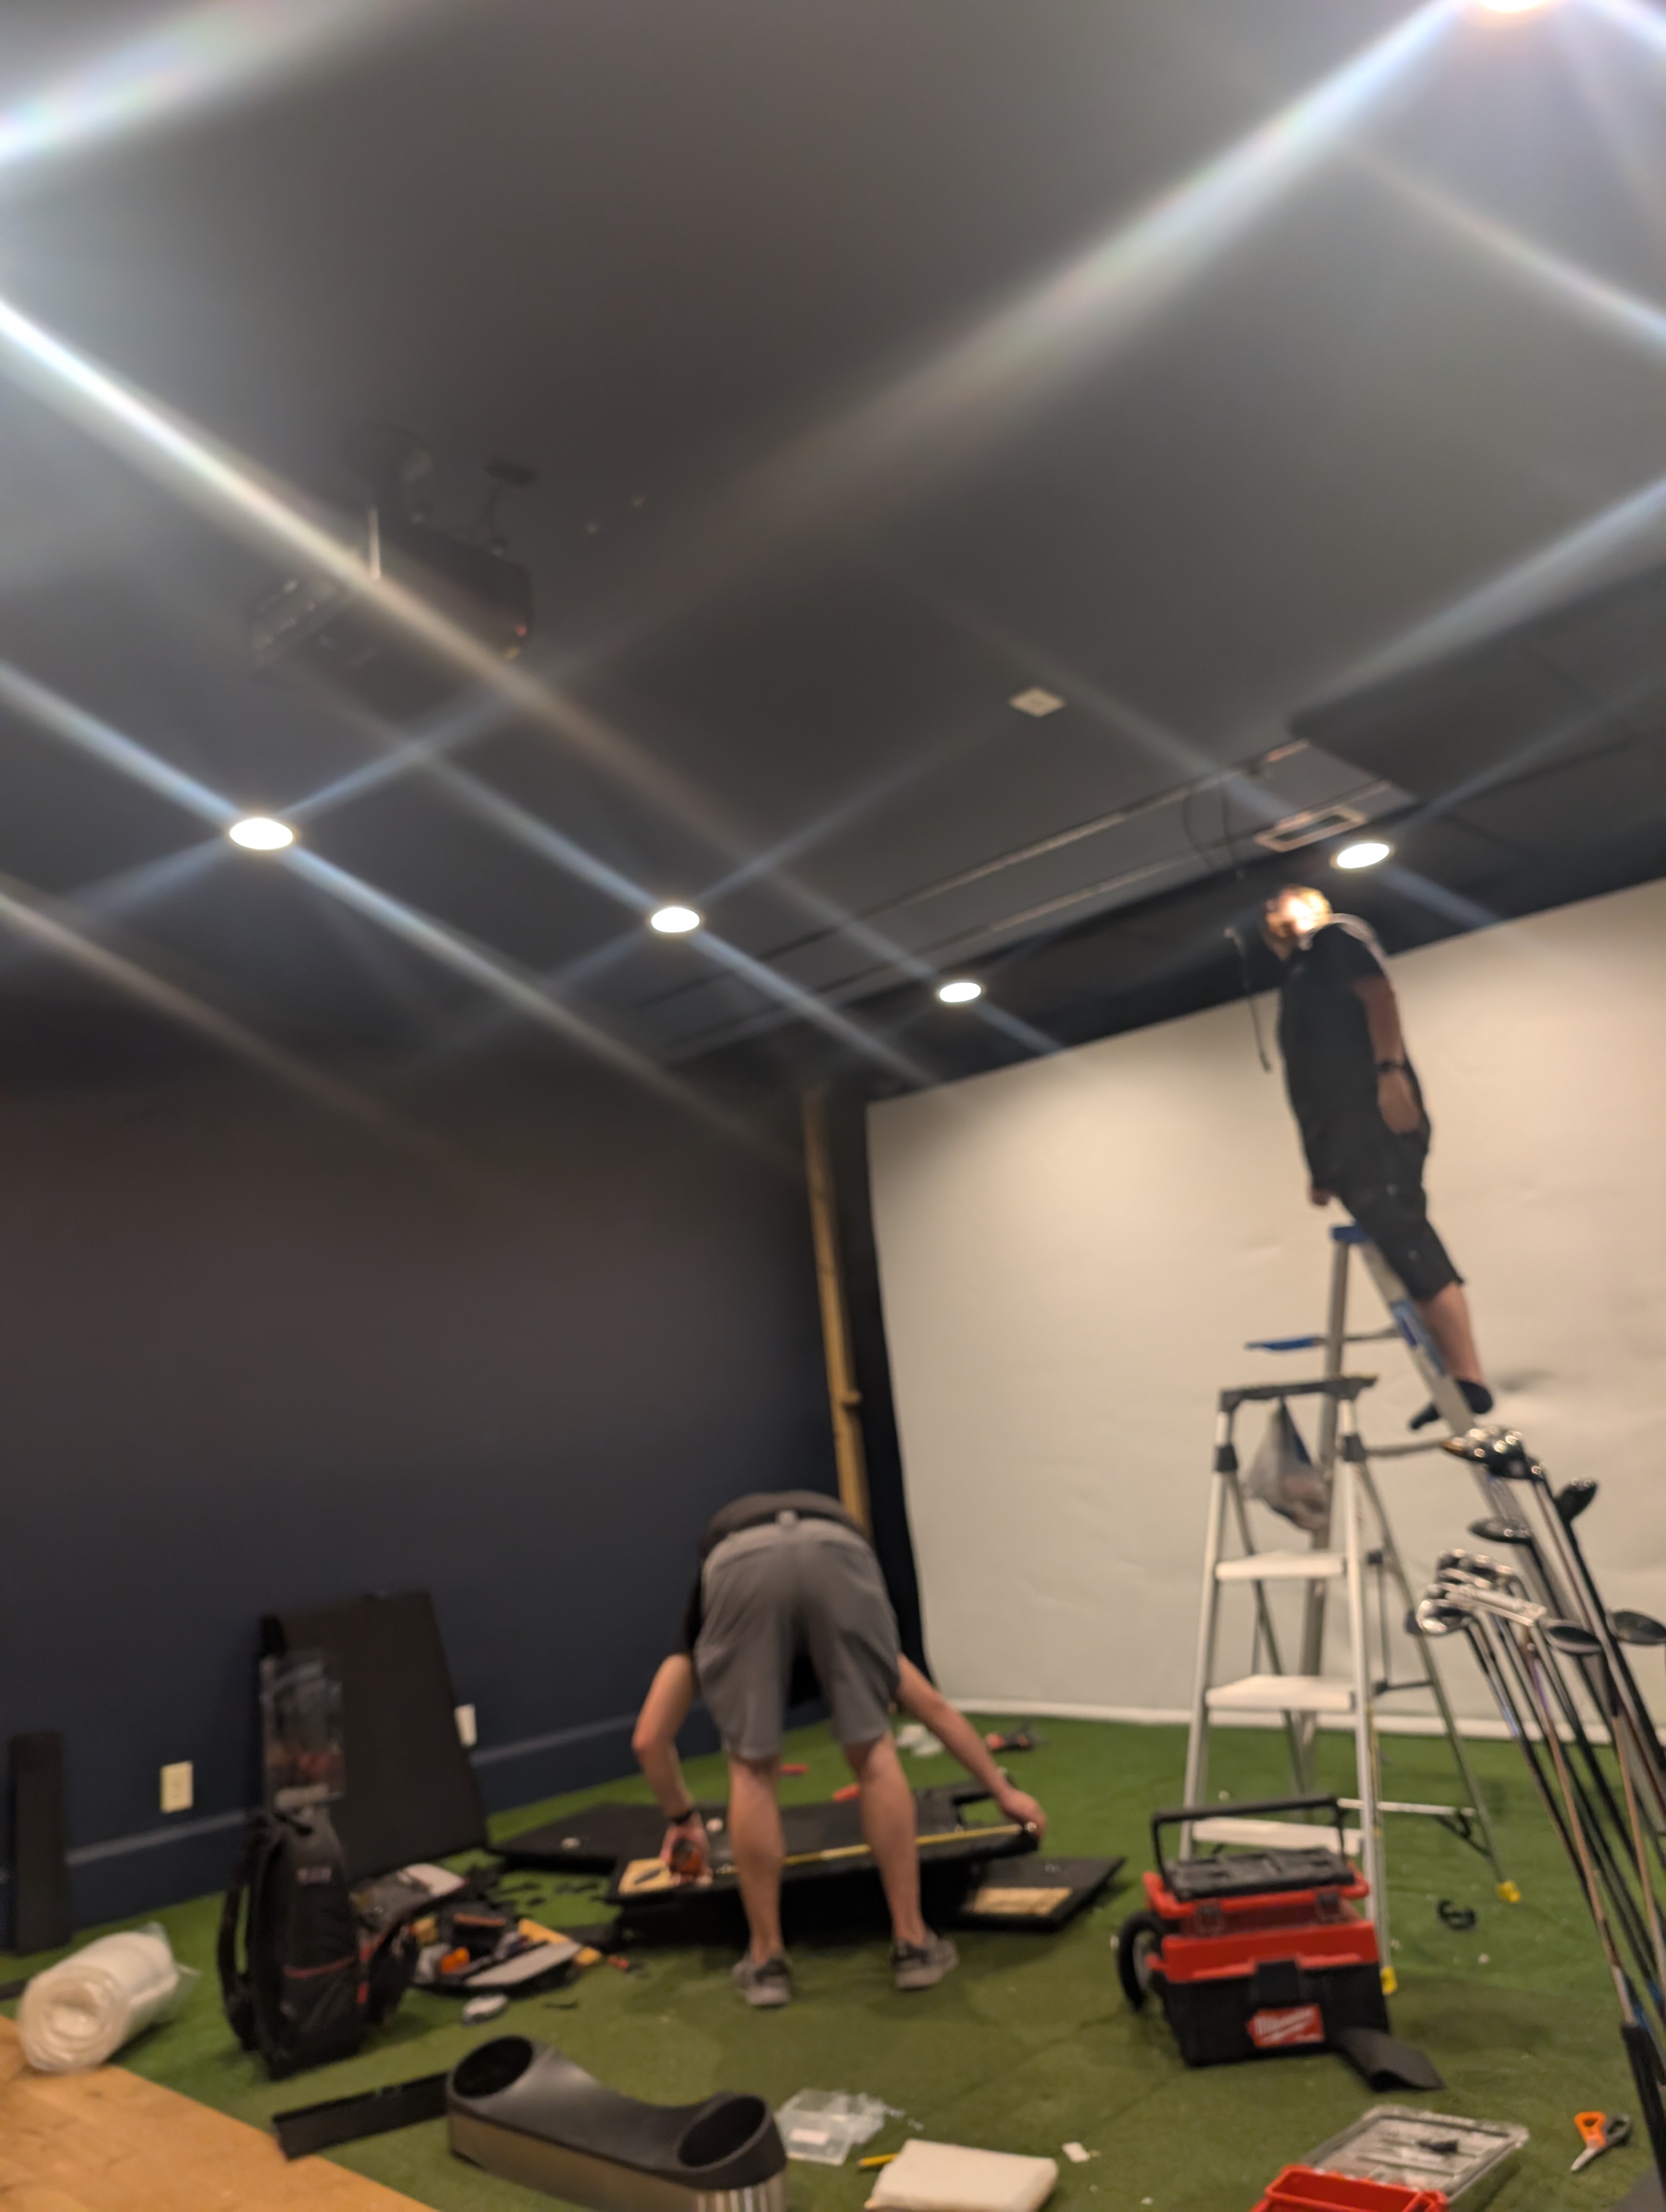
Protective golf simulator wall panels being measured and prepared onsite
That unplanned work is a good example of why installation experience matters: the homeowner should receive a functioning room, not a list of parts that almost fit.
Projection Is Geometry, Not Guesswork
The projector has to create the correct image size from an available mounting position without placing equipment in the golfer’s swing path or creating distracting shadows. Brightness, throw distance, lens capability, aspect ratio and screen dimensions all matter.
A projector that looks excellent in a theater may be wrong for a simulator if it cannot produce the required image from the safe mounting location.
Once installed, the image must be aligned to the usable screen area and the simulator computer configured to the correct resolution. The goal is a bright, properly proportioned picture that feels natural from the hitting position—not merely an image that happens to land on the screen.
The Technology Has to Work as One System
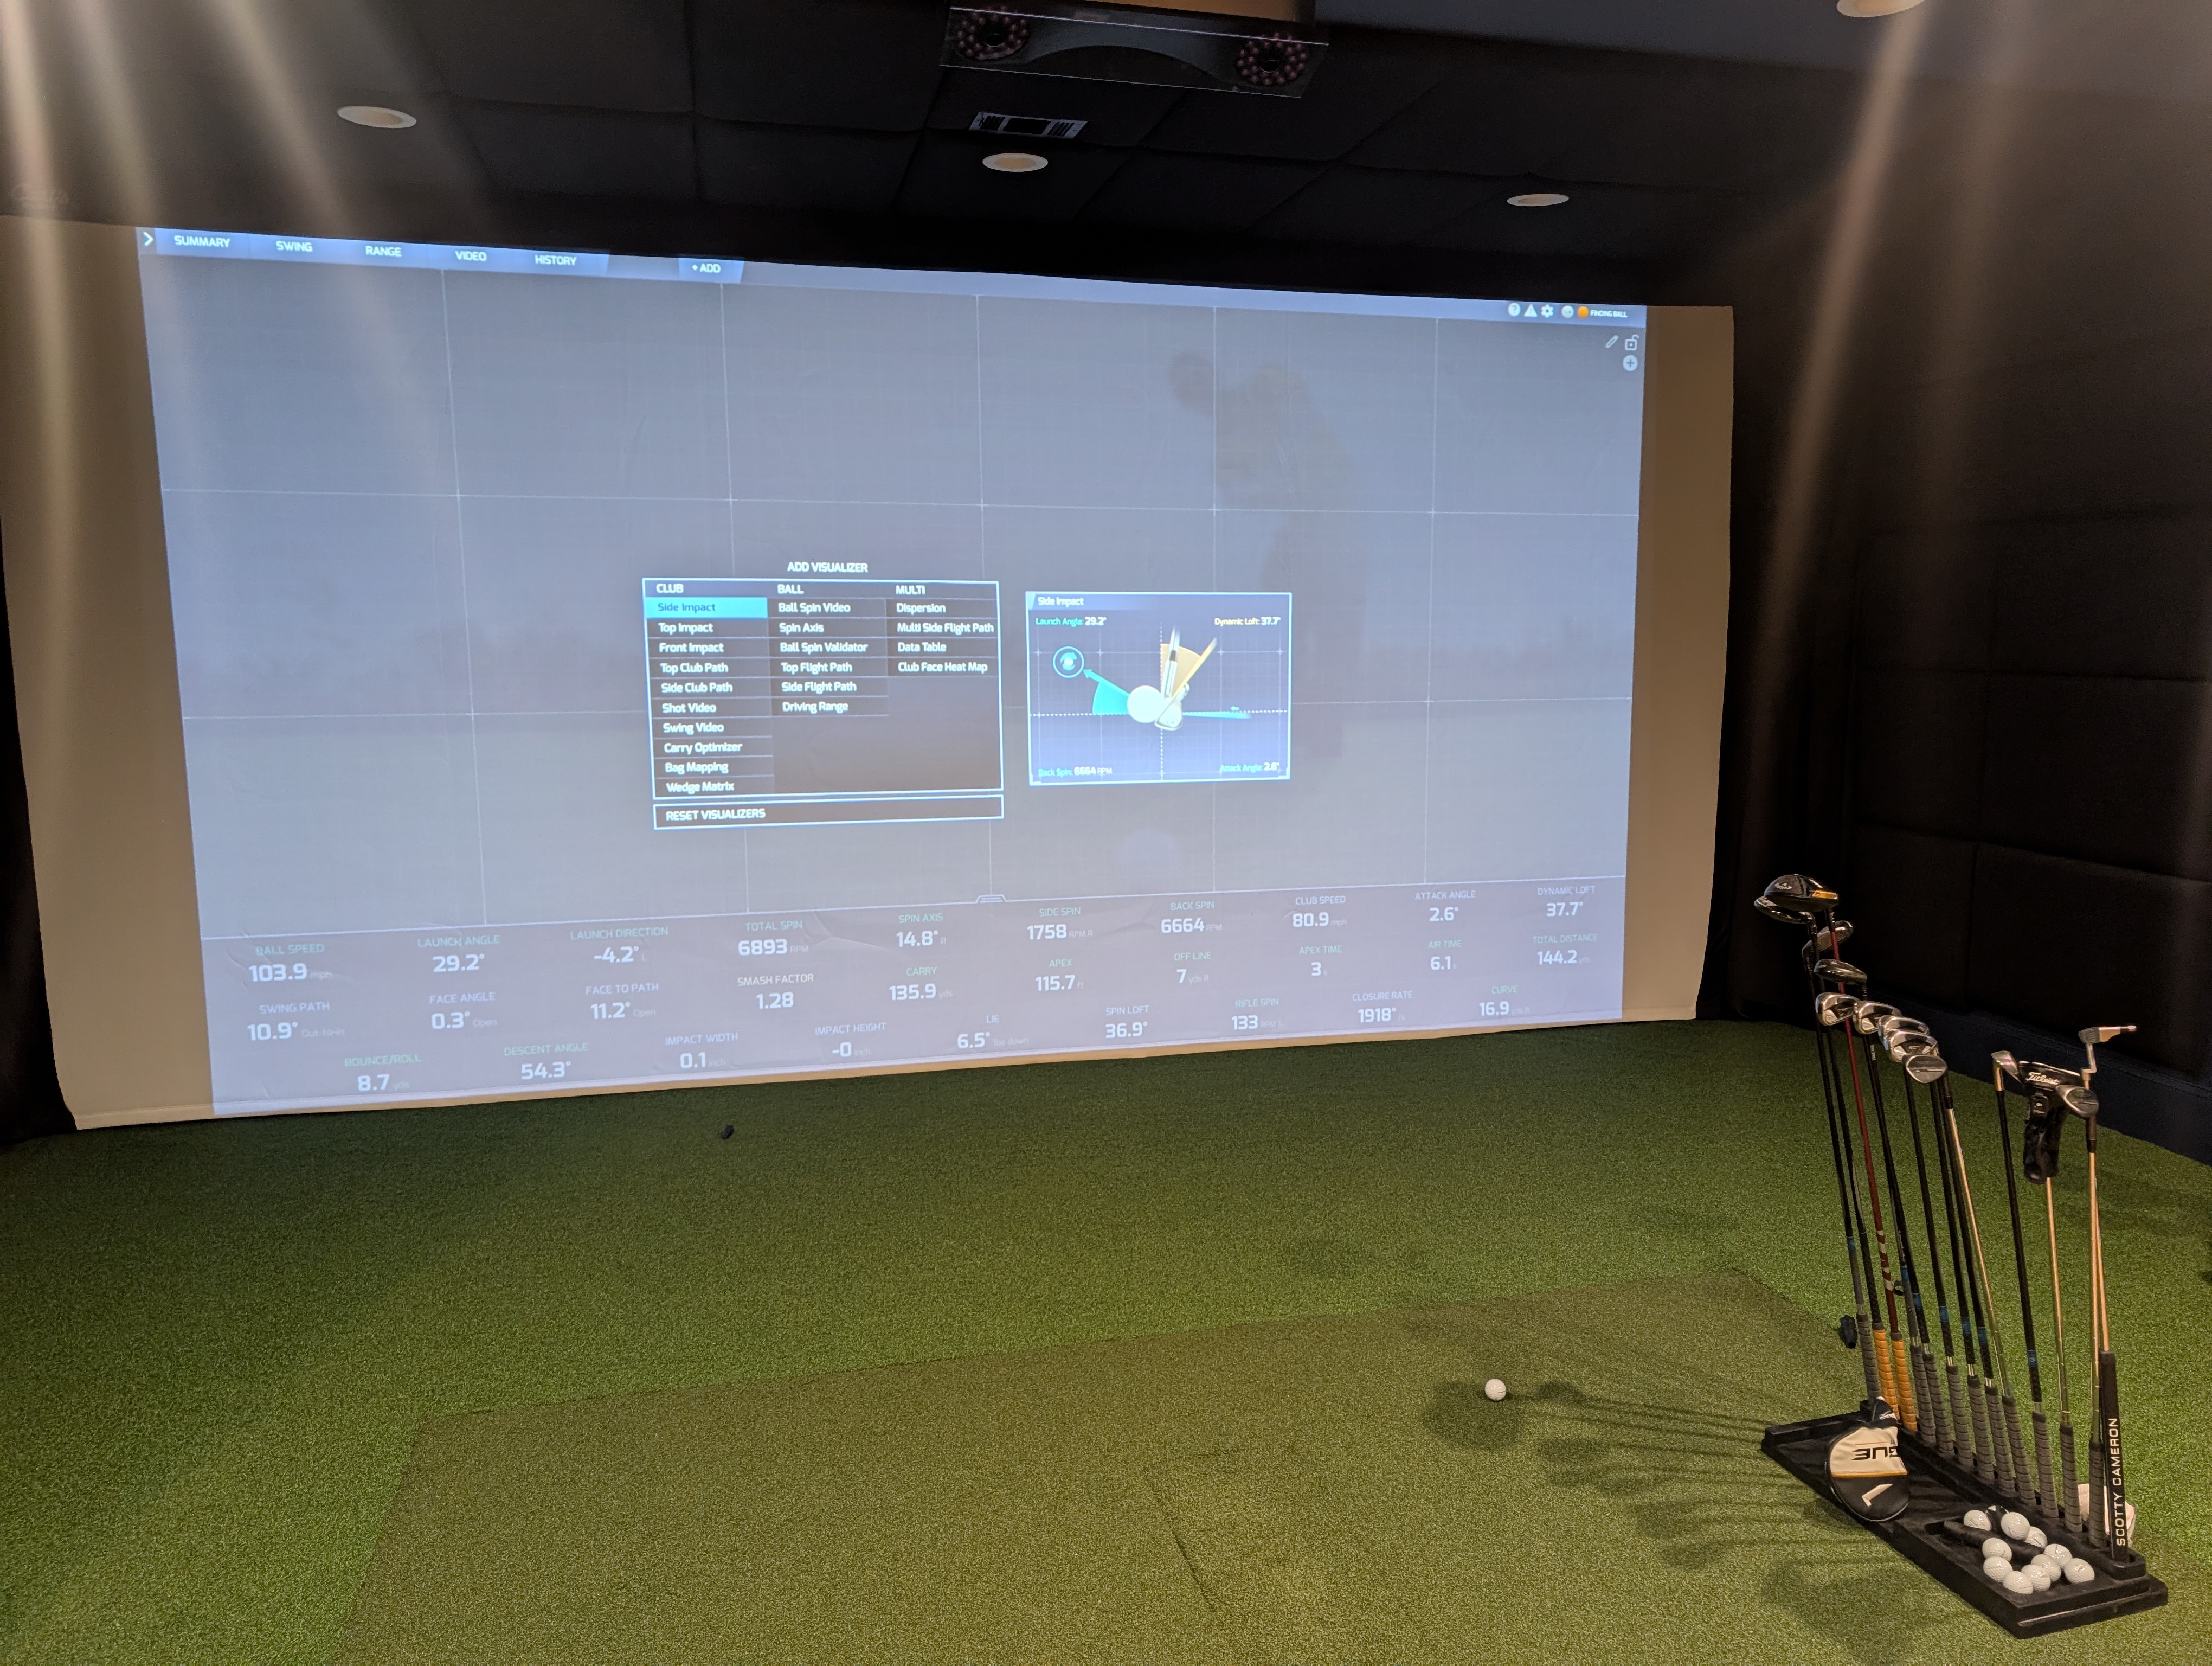
A finished simulator may include a launch monitor, high-performance computer, simulator software, projector, control display, network connection and audio equipment.
If those pieces are treated as separate products, the homeowner is left managing inputs, settings and startup problems. ETI’s role is to connect and configure the system so the room is practical to use after the installation crew leaves.
Final commissioning includes checking the computer and software, verifying the display path, confirming measurement and shot response, testing audio, reviewing the hitting area and correcting anything that interrupts normal operation.
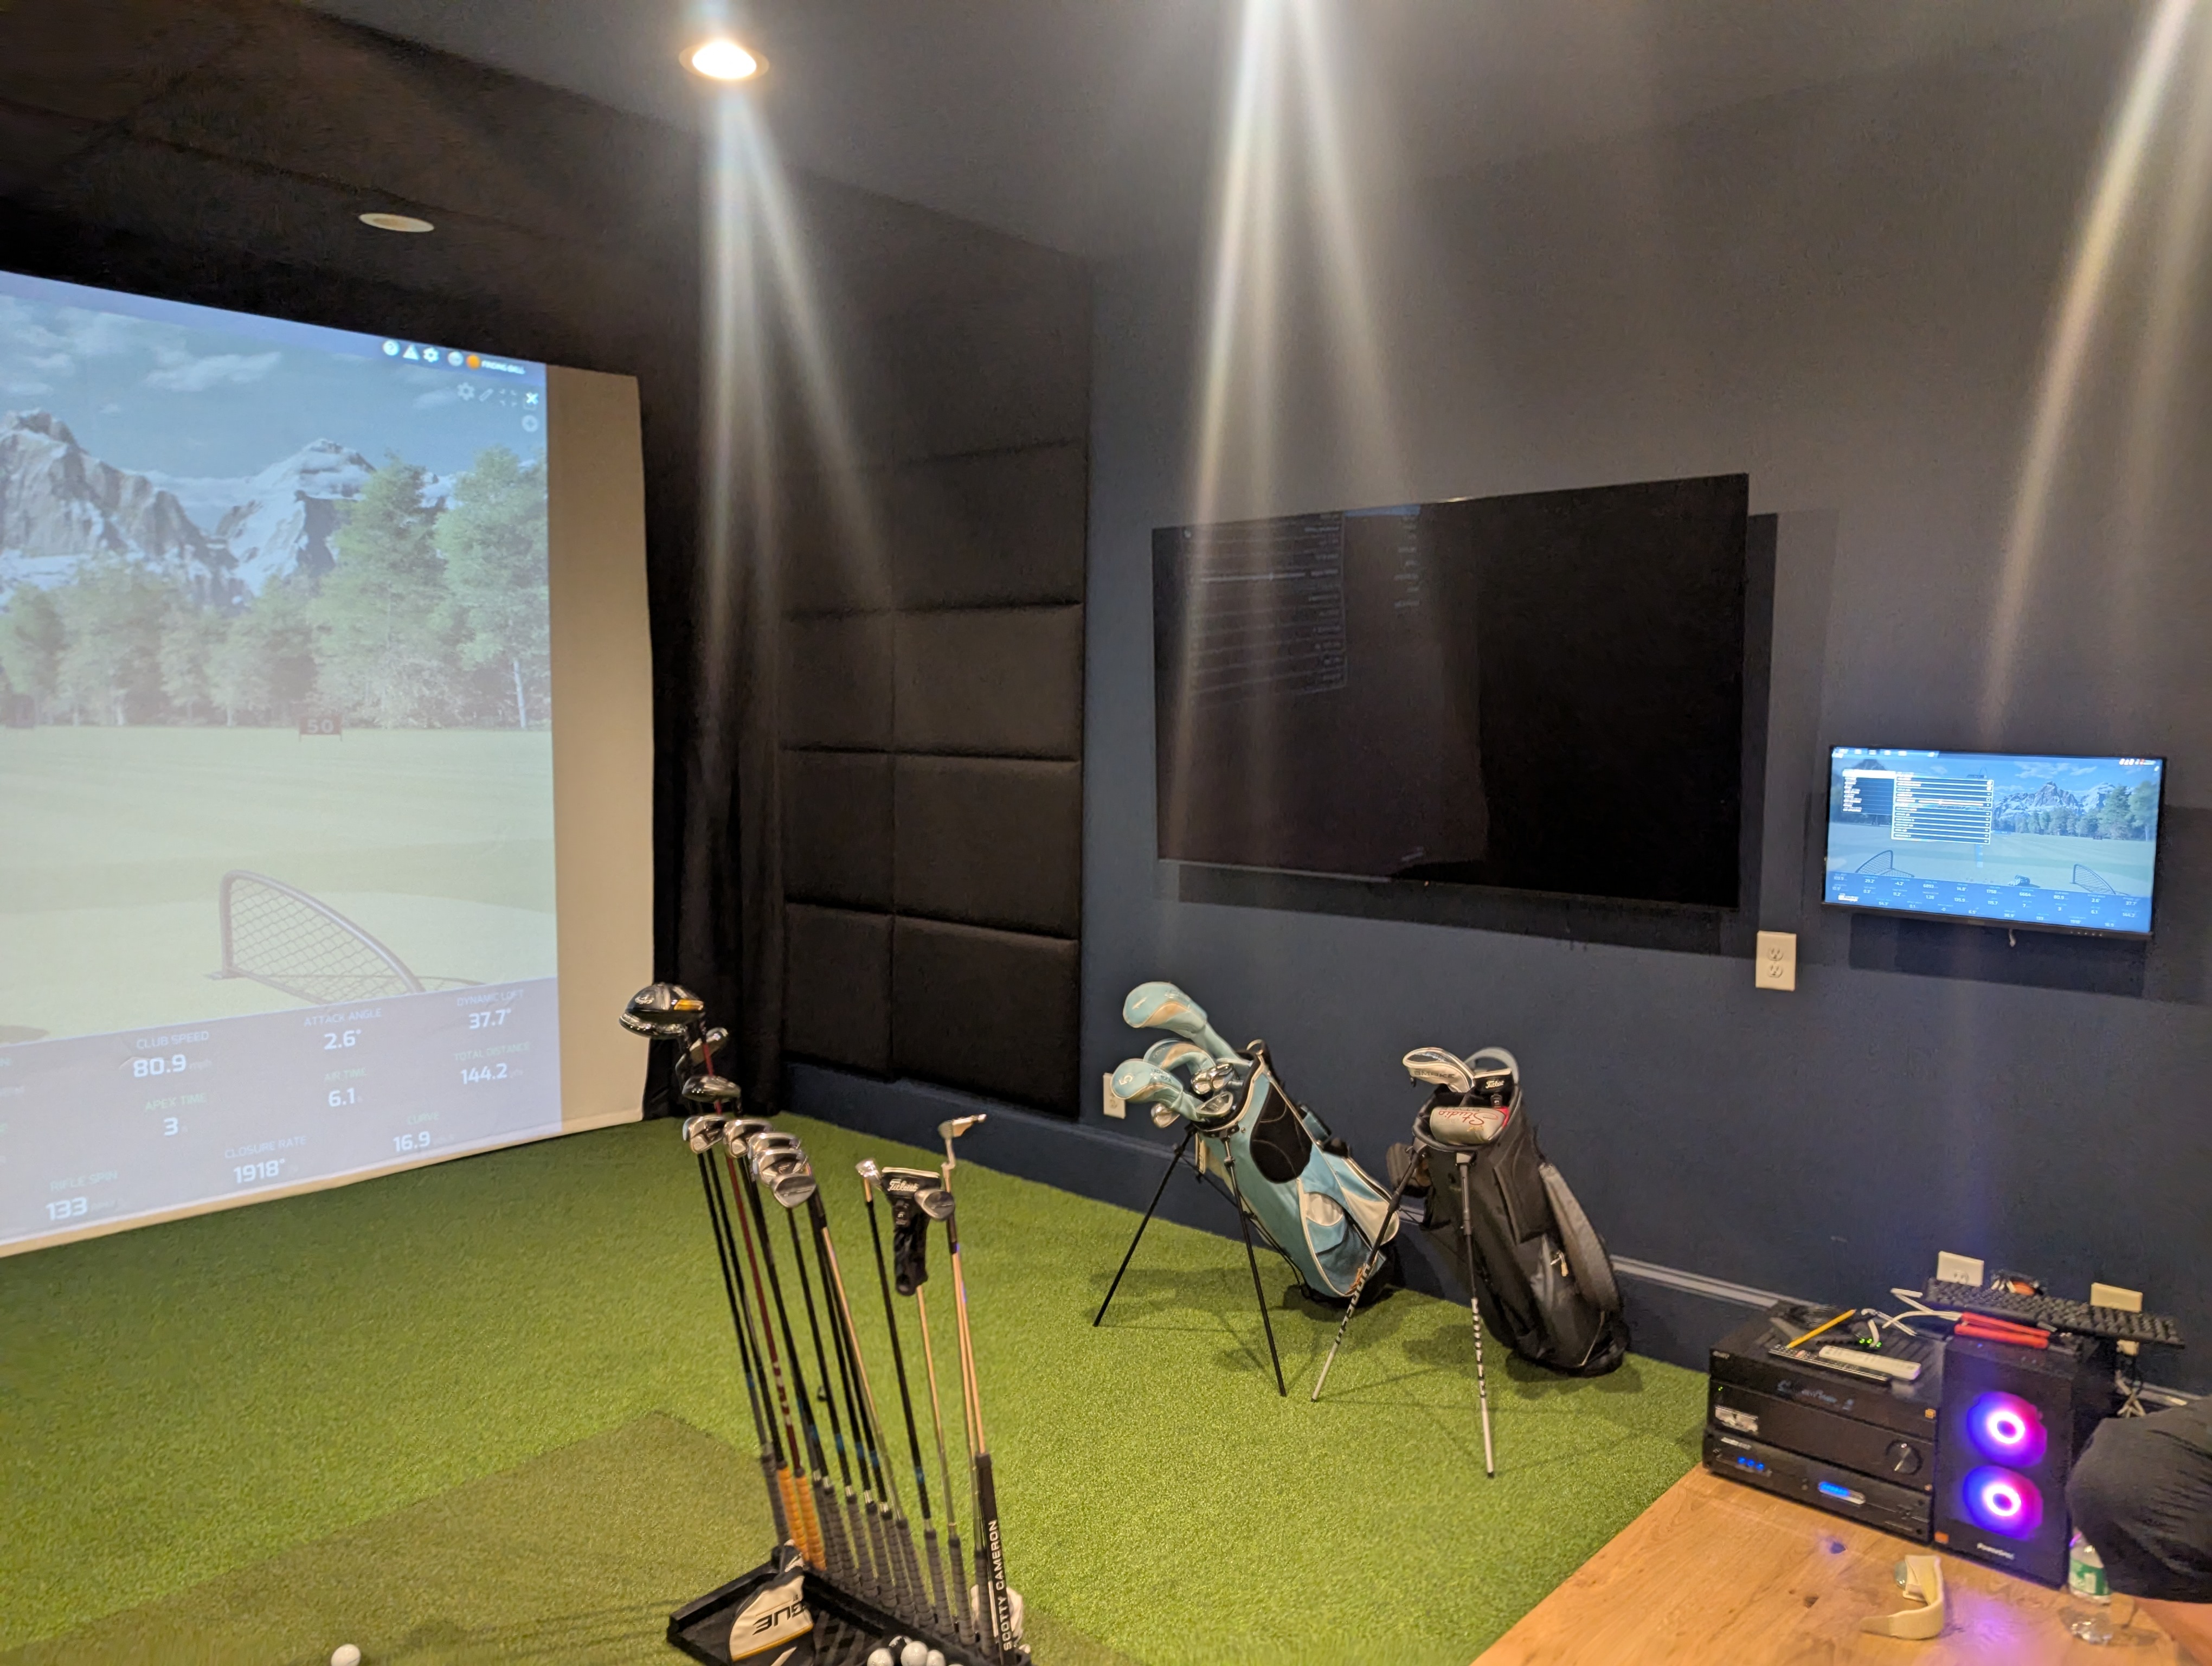
That final layer of testing is where a group of products becomes a finished experience.
Why Professional Installation Changes the Outcome
A kit can supply components, but it cannot evaluate the room, resolve every field condition or accept responsibility for the final result.
Professional installation adds the planning and problem-solving needed when the walls are not perfectly square, mounting methods need improvement, supplied pieces require adjustment or electronics do not communicate correctly on the first attempt.
The value is not that problems never happen. The value is having a team capable of identifying the problem, correcting it and delivering a room that looks and operates the way the homeowner expected.
Planning a Golf Simulator for Your Home?
Entertainment Technology designs and installs custom golf simulator rooms for homeowners throughout Metro Atlanta, North Georgia and Lake Oconee.
Whether the project begins with an unfinished room, an existing bonus room or equipment that needs to be integrated properly, ETI can help evaluate the space and develop a complete plan before installation begins.
The best first step is a room assessment. Ceiling height, width, depth, screen size, player handedness, projector placement, launch-monitor requirements, protection and seating should all be considered together.
Schedule a consultation with Entertainment Technology to determine what your room can support and what it will take to build the simulator correctly.
Custom Golf Simulator Installation in Atlanta: What It Really Takes to Build the Room Right

The Frustrations of Changing Dealers in the Control4 Environment

The Heart of the Home: Centralized AV Simplifies Entertainment

Bring the Course Home with a Luxury Golf Simulator